
Here is a basic overview of the scheduling process for admins and teachers.
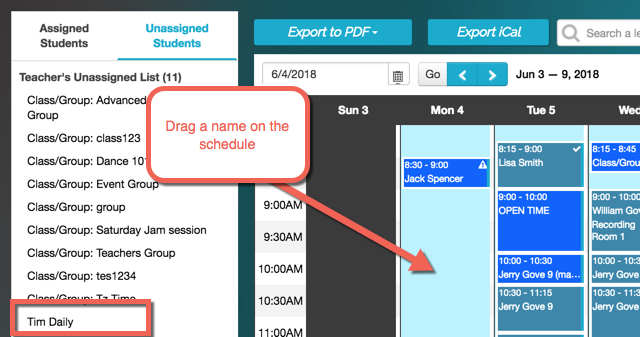
- Setting up students on a teacher schedule is a straightforward process of dragging and dropping. Once you have set your "open time" (indicated by the light blue color), you can easily drag the names of your students onto the schedule. The scheduling/billing criteria for each student can then be selected once they are placed on the schedule:
- The first step is to drag a student/class/group into the light blue open time:
-
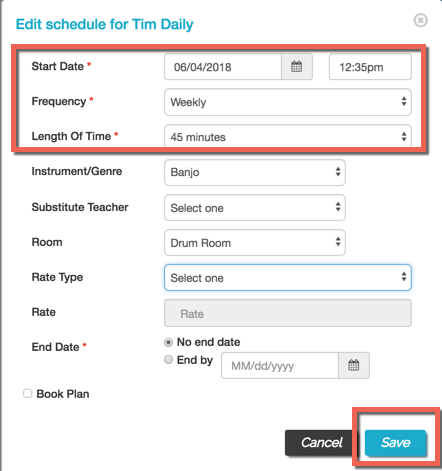
- Once you drag on to the schedule you'll be able to make some choices:
- There are only three mandatory things:
- Start date
- Frequency of the lessons
- Length of time of the lessons
- Optional items are:
- Instrument/genre
- Substitute teacher
- Room
- Rate type (this is for custom teacher pay rates - find more information regarding that here)
- End date (if there is one)
- "Book Plan" - this is if you want to attach a billing plan to the student's scheduled lessons - learn more about this here.
- Note: if you are not billing the student and are only wanting to schedule them, leave this unchecked
- There are only three mandatory things:
- Once you drag on to the schedule you'll be able to make some choices:
-
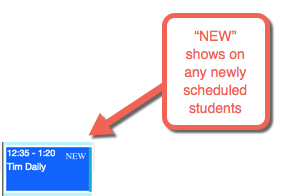
- Once you have saved the changes, you will see a "NEW" label in the right-hand corner of the scheduled lesson/class:
- Here's an example of dragging on the schedule and saving the lesson:
Check out these other helpful articles and tutorials regarding scheduling: