
Here are step-by-step instructions on how to create a group billing plan and class that only occur one time, or perhaps over a weekend, events such as recitals, day camps, or special classes!
1. First, create a group billing plan with details on what you'd like to collect from students for participating (you don't have to collect anything if the class is free but you'd still like to utilize the group billing plan for the ability for students to drop into the class):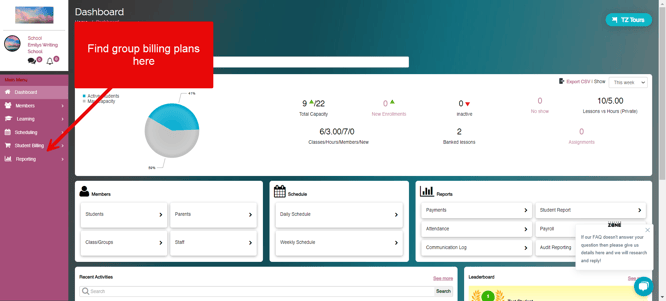
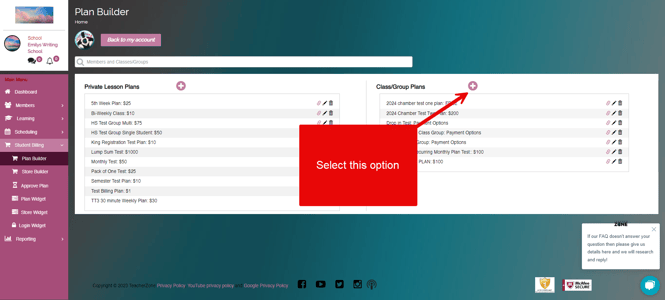
2. Next, you will create a group billing plan + a corresponding class that the plan is tied to. Select both the scheduling details (including the teacher linked to the plan and the days/times it is occurring), and billing details (including price). Remember to add an end date since the class isn't recurring:
- As you can see, after creating the billing plan and corresponding class and selecting the details, the software automatically schedules the class onto the teacher's weekly schedule.
- If you're curious about allowing "drop-ins", find more information regarding that here.
- If you're curious about the difference between "max allowed for registration", "max # allowed in class", and "reserve"/"range" limit, find more information at the bottom of this article.
- If you're curious about classes that recur for a short time but then end (perhaps your school is closed for the summer or a long winter break), find more information here.
At this point, the class is ready to be filled with students either via admin (someone from your team manually adds the student and assigns the billing plan), or the student can purchase this group plan on the app and it will collect the price + add them to the roster. Find a video in this article with instructions on how to add students into a class WITH billing attached.
If you'd like to create a widget specifically for this one-time class, find more information regarding widgets here!